How to Make Your First YouTube Video (equipment, scripting, filming, and editing!)
Decide on a channel name and topic. Create a list of video ideas. Decide on branding for your YouTube channel. Set up your channel. Outline, film, edit, and publish your videos.
Sounds overwhelming, right?
Getting ready to create videos on your YouTube channel can feel overwhelming and keep you from actually taking action in the first place. BUT… what if I told you making your first YouTube video doesn’t need to be complicated, and you can do it simply?
All you need is some equipment and a simple step-by-step process. In this article, I’ll walk you through those two key components.
Step #1 – Equipment
I don’t want equipment to trip you up and keep you from starting. You do not need the latest and greatest technology, and you can begin with tools you already have access to. Once you are consistently producing videos on your channel, and your channel is growing, then you can decide if you are ready to invest in additional equipment.
Three pieces of equipment that you NEED to have:
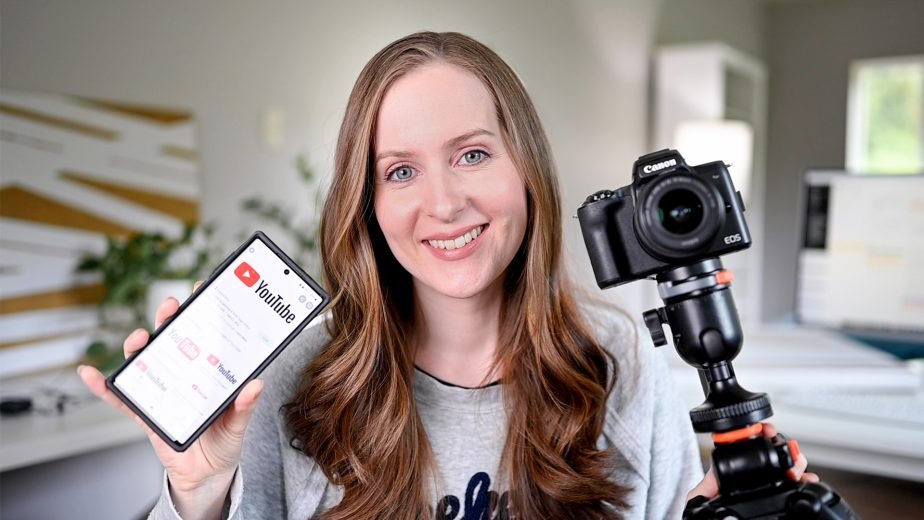
1 – Camera
This may seem obvious, but you need a camera to film your video. My encouragement is to start with what you have. If you already have a nice, professional camera, use that, but if all you have is your phone, don’t let that stop you. Many phones these days have quality cameras that get the job done.
Here are some camera options:
Free: your phone camera
Budget-friendly: Canon EOS M50
What I use: the Nikon Z6
2 – Subject
Two things that matter for your videos: having something to film as well as a place to film.
The something to film, or the subject of your video, is the main focus you’re capturing. Most likely this is yourself, unless you have an animation or voice-over-styled channel.
When it comes to a place to film your video, you want to position yourself away from the wall or background to establish a feel of depth. Also, consider clearing your space so it doesn’t look cluttered. Keep the background simple and pleasant to the eye.
3 – Light
Lighting makes a huge difference in YouTube videos. The more light the better, though you want to make sure that your lighting is a diffused, soft light. You can create this effect with a lamp, a window, or a ring light.
Here are a few lighting options:
Free: natural light with windows
Budget-friendly: Soft light bulbs for lamps: LED 100w equivalent, 5000K
What I use: Full-size ring light
Three pieces of equipment that are NICE to have:
1 – Tripod
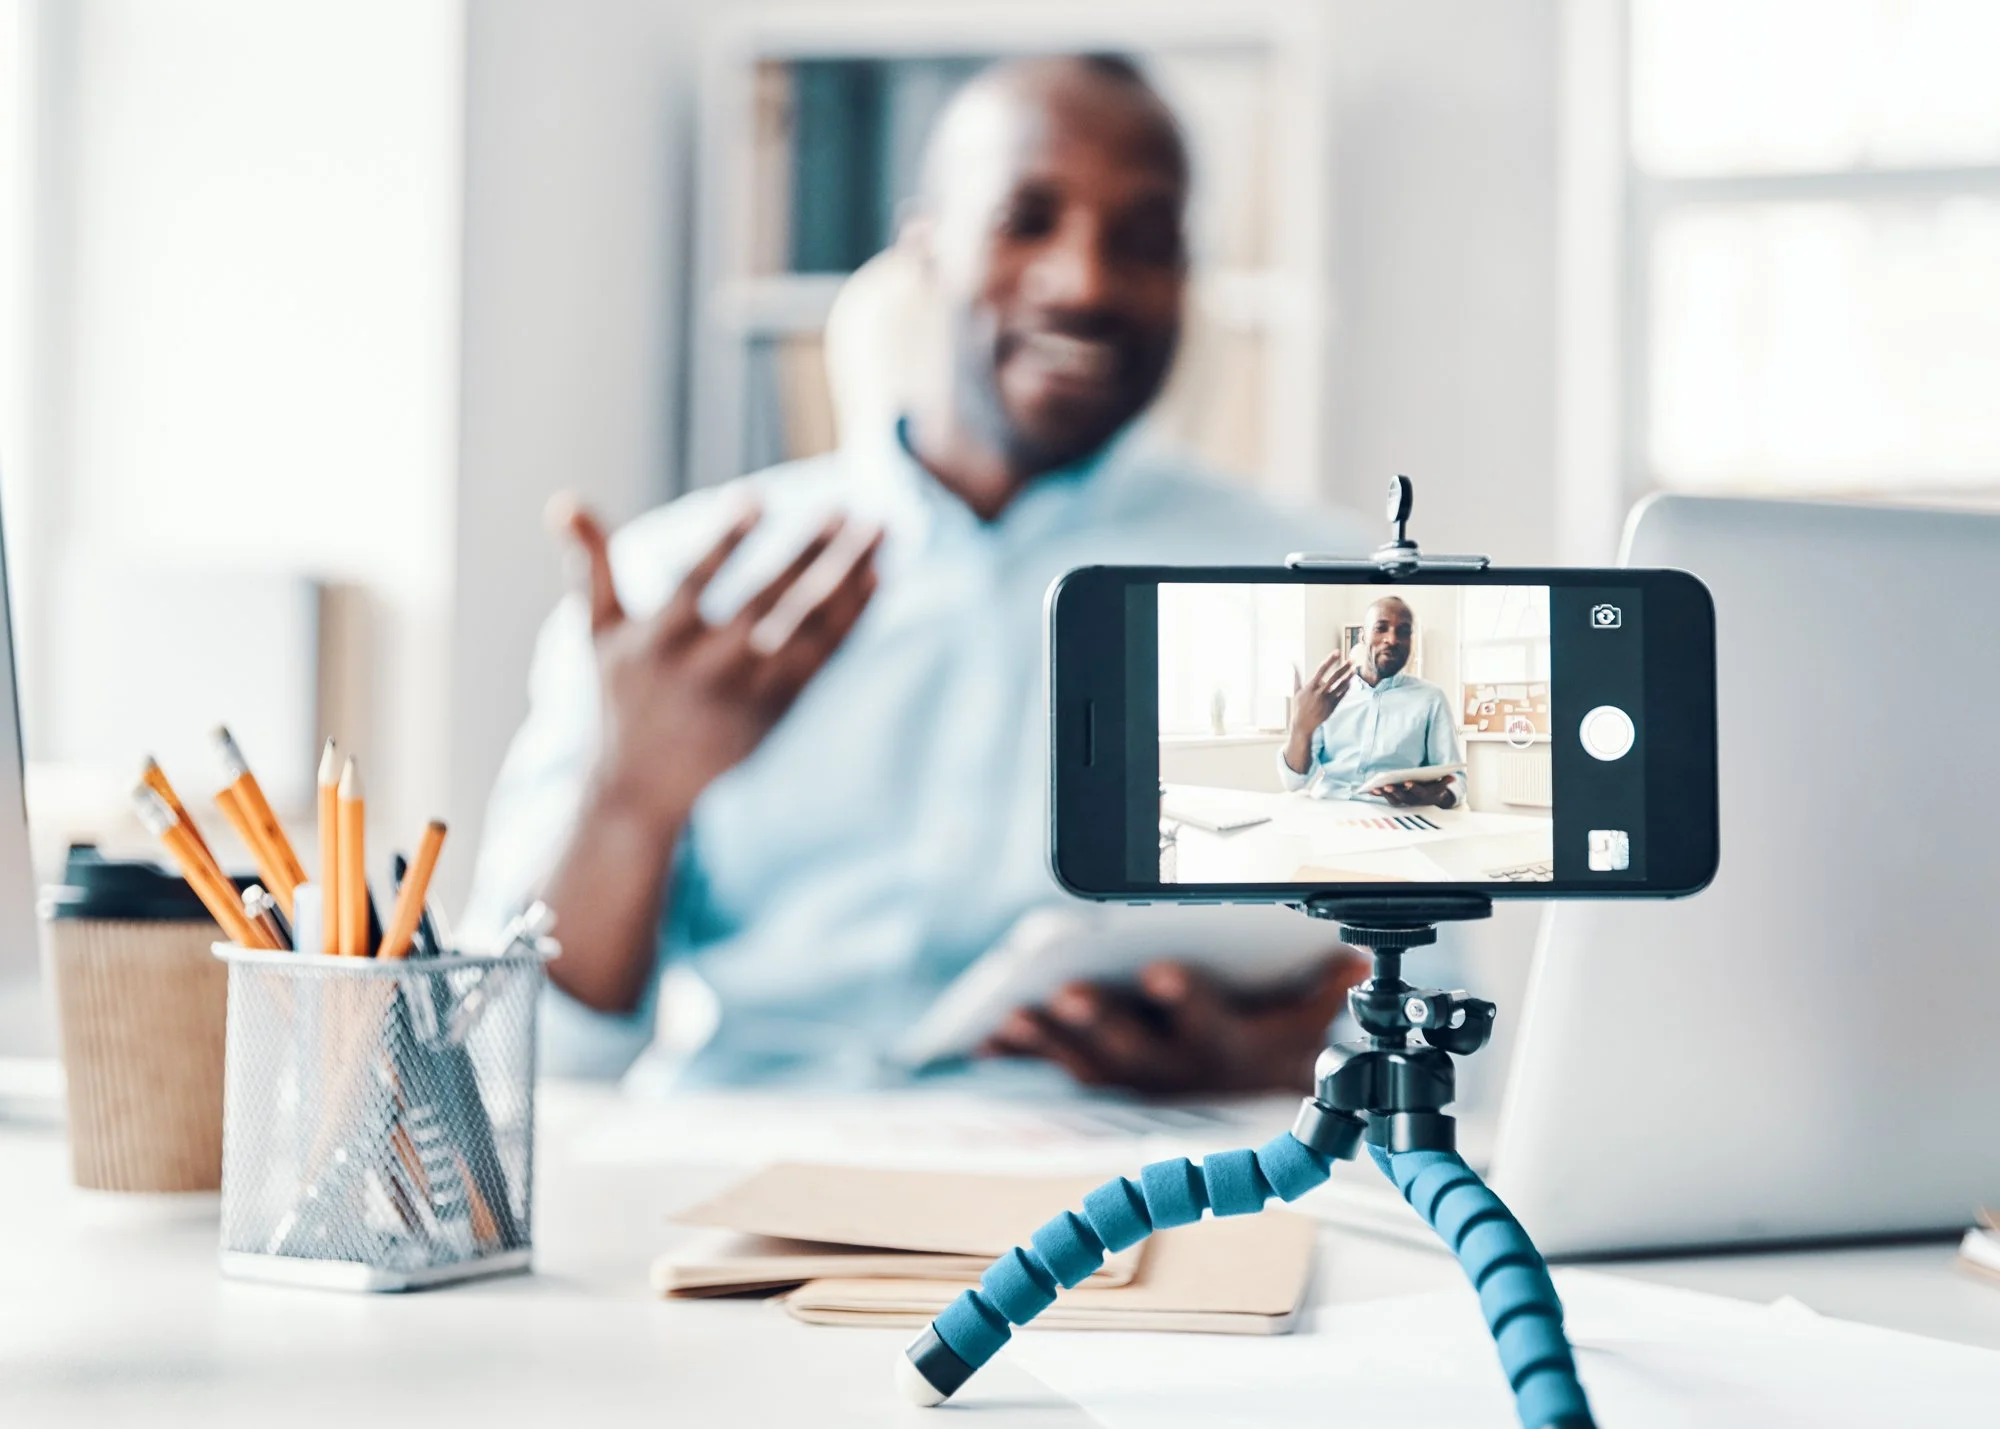
A tripod will support your camera to keep it stable and ensure your subject remains the main focus in the camera frame.
Now, you don’t need to get fancy with a tripod, but it can help stabilize your camera and create a really great shot.
You also don’t need to buy one right away, as you can prop your camera up on a windowsill or bookshelf and create the same effect.
Here are a few tripod options:
Free: windowsill, bookshelf, stack some books
Budget-friendly: Amazon basics 60-inch lightweight tripod
Budget-friendly: Portable aluminum alloy camera 2-in-1 tripod
What I use: Geekoto camera tripod for DSLR
2 – Soft things
While filming, you’ll want to surround yourself with an array of soft items to help create quality audio. Hard surfaces can create an echo in your videos, and you want to ensure the audio is soft.
Adding blankets, pillows, padded chairs, or a large rug into your filming space will help you create this soft effect. Super budget friendly and super effective!
3 – Microphone
A microphone is essential to record sound, but your camera or phone has a built-in microphone that you can start with. An external microphone will add to the recording quality and is a good addition when you’re ready. You can choose from a lavalier microphone that you’d attach to your shirt all the way up to a microphone on a boom pole.
Here are a few microphone options:
Free: the built-in microphone on your camera
Budget-friendly: Lavalier microphone
Budget-friendly: Rode videomicro compact on-camera microphone
What I use: Rode videomic studio boom kit
The main thing I want to stress before we move onto the process is that you don’t need to have all the new and expensive equipment to film a great YouTube video.
Don’t let equipment keep you from starting. Start with what you have.
Step #2 – the process
Now that we’ve established the equipment that is necessary and the tools that are good to have, let’s move onto what the step-by-step process of creating your first YouTube video looks like.
1 – Plan
Well-laid out plans create much better videos. It’s important to spend time deciding what the purpose of your video is and how you’re going to make it engaging. A rule of thumb is to spend as much time planning your video as you would filming it. I promise this will make video creation easier in the future!
Your video needs some sort of structure, including a beginning, middle, and end. Think about it like a story. How will you hook your viewers in, keep their attention, and make sure there is a climax and final outcome? A story needs a solid plot to make it interesting.
I recommend you create an outline for your video. This does not need to be a word-for-word script, and it’s best to not create a detailed script if possible because scripted videos tend to be harder to film and a bit more awkward to watch once published. Don’t worry about saying everything perfectly, you can edit out any pauses or filler words! Work to speak as naturally as possible while filming.
2 – Appearance
It’s important to put your best foot forward when you’re on camera because when you’re filming, you’re essentially putting yourself out there on a “virtual” stage. Because of this, you’ll want to look as good as you can.
Put on some makeup, do your hair, and wear an outfit that makes sense for the content of your video.

Just this – getting yourself ready – will make a big difference in your video quality.
You want to appear ready and confident on camera, and this is a major factor in creating that effect.
3 – Set up
Before you film, ensure your space is set up and ready to go.
Position your camera to frame the subject of your video.
Balance out your lighting so the subject is the focus. You want to ensure the subject of your video is light well, which usually is done best by angling the light so it’s pointing at the subject or subject’s face. Ensure your lighting is balanced out enough so it doesn’t create harsh shadows. If using more than just your natural window light, place additional lights in the right places. For example, have the window on one side of you and a lamp on the other. Additionally, if you are using extra lighting through lamps and trying to match the daylight, use a white bulb.
4 – Frame
Frame your shot by positioning the camera in a specific angle so that the subject of your video is in the right place. Usually, if you are the subject of the video, you will want to be centered in the frame because this will help give a natural and conversational feeling for your audience.
5 – Film
Consider how you want to film. Do you want to record a talking head shot of you, or are you interested in recording other footage and creating a voice over to go along with it? It is possible to create faceless YouTube videos if you prefer to be off camera.
6 – Extras
What other things do you want in your video to illustrate what you’re talking about? A-roll is your primary footage (your subject directly in the shot), but you can include B-roll (video or pictures displayed rather than your subject while the subject is talking) or add graphics on top of the A-roll footage.
Adding these elements and layers will make your video more visually appealing and keep viewers engaged in your content.
In turn, you’ll produce longer watchhours, which helps your channel out in a monumental way!
7 – Editing
Once you’ve filmed everything for your video, it’s time to upload the content into your editing software of choice and cut out any mistakes or pauses. Then you can add any text or music overlay you want along with other visual elements such as B-roll. Make sure to keep it simple, though, because the more you add the more cluttered it will feel, and that isn’t visually appealing for your viewers.
Here are some editing software options:
Free for Mac: iMovie
Free for Windows: Shot Cut
What I use: Adobe Premier
8 – Export
Download, or export, your finished video from your video software to your desktop.
9 – Upload
Upload your final video onto YouTube!
You can do this by going onto your YouTube channel homepage and clicking the little camera icon in the top menu.
RELATED: How to Start a Successful YouTube Channel
10 – Patience
The final step is to have patience! Don’t expect too much coming right out of the gate. Yes, your channel can be successful, and, yes, it can become a passive income stream for you. However, first videos usually don’t just take off on their own. It’s your first video! Be proud of what you accomplished already. Many don’t even start.
Your next videos and future videos will be even better than this first one, but you are in the learning process. So soak up that learning experience and use it to fuel your ideas and your content quality.
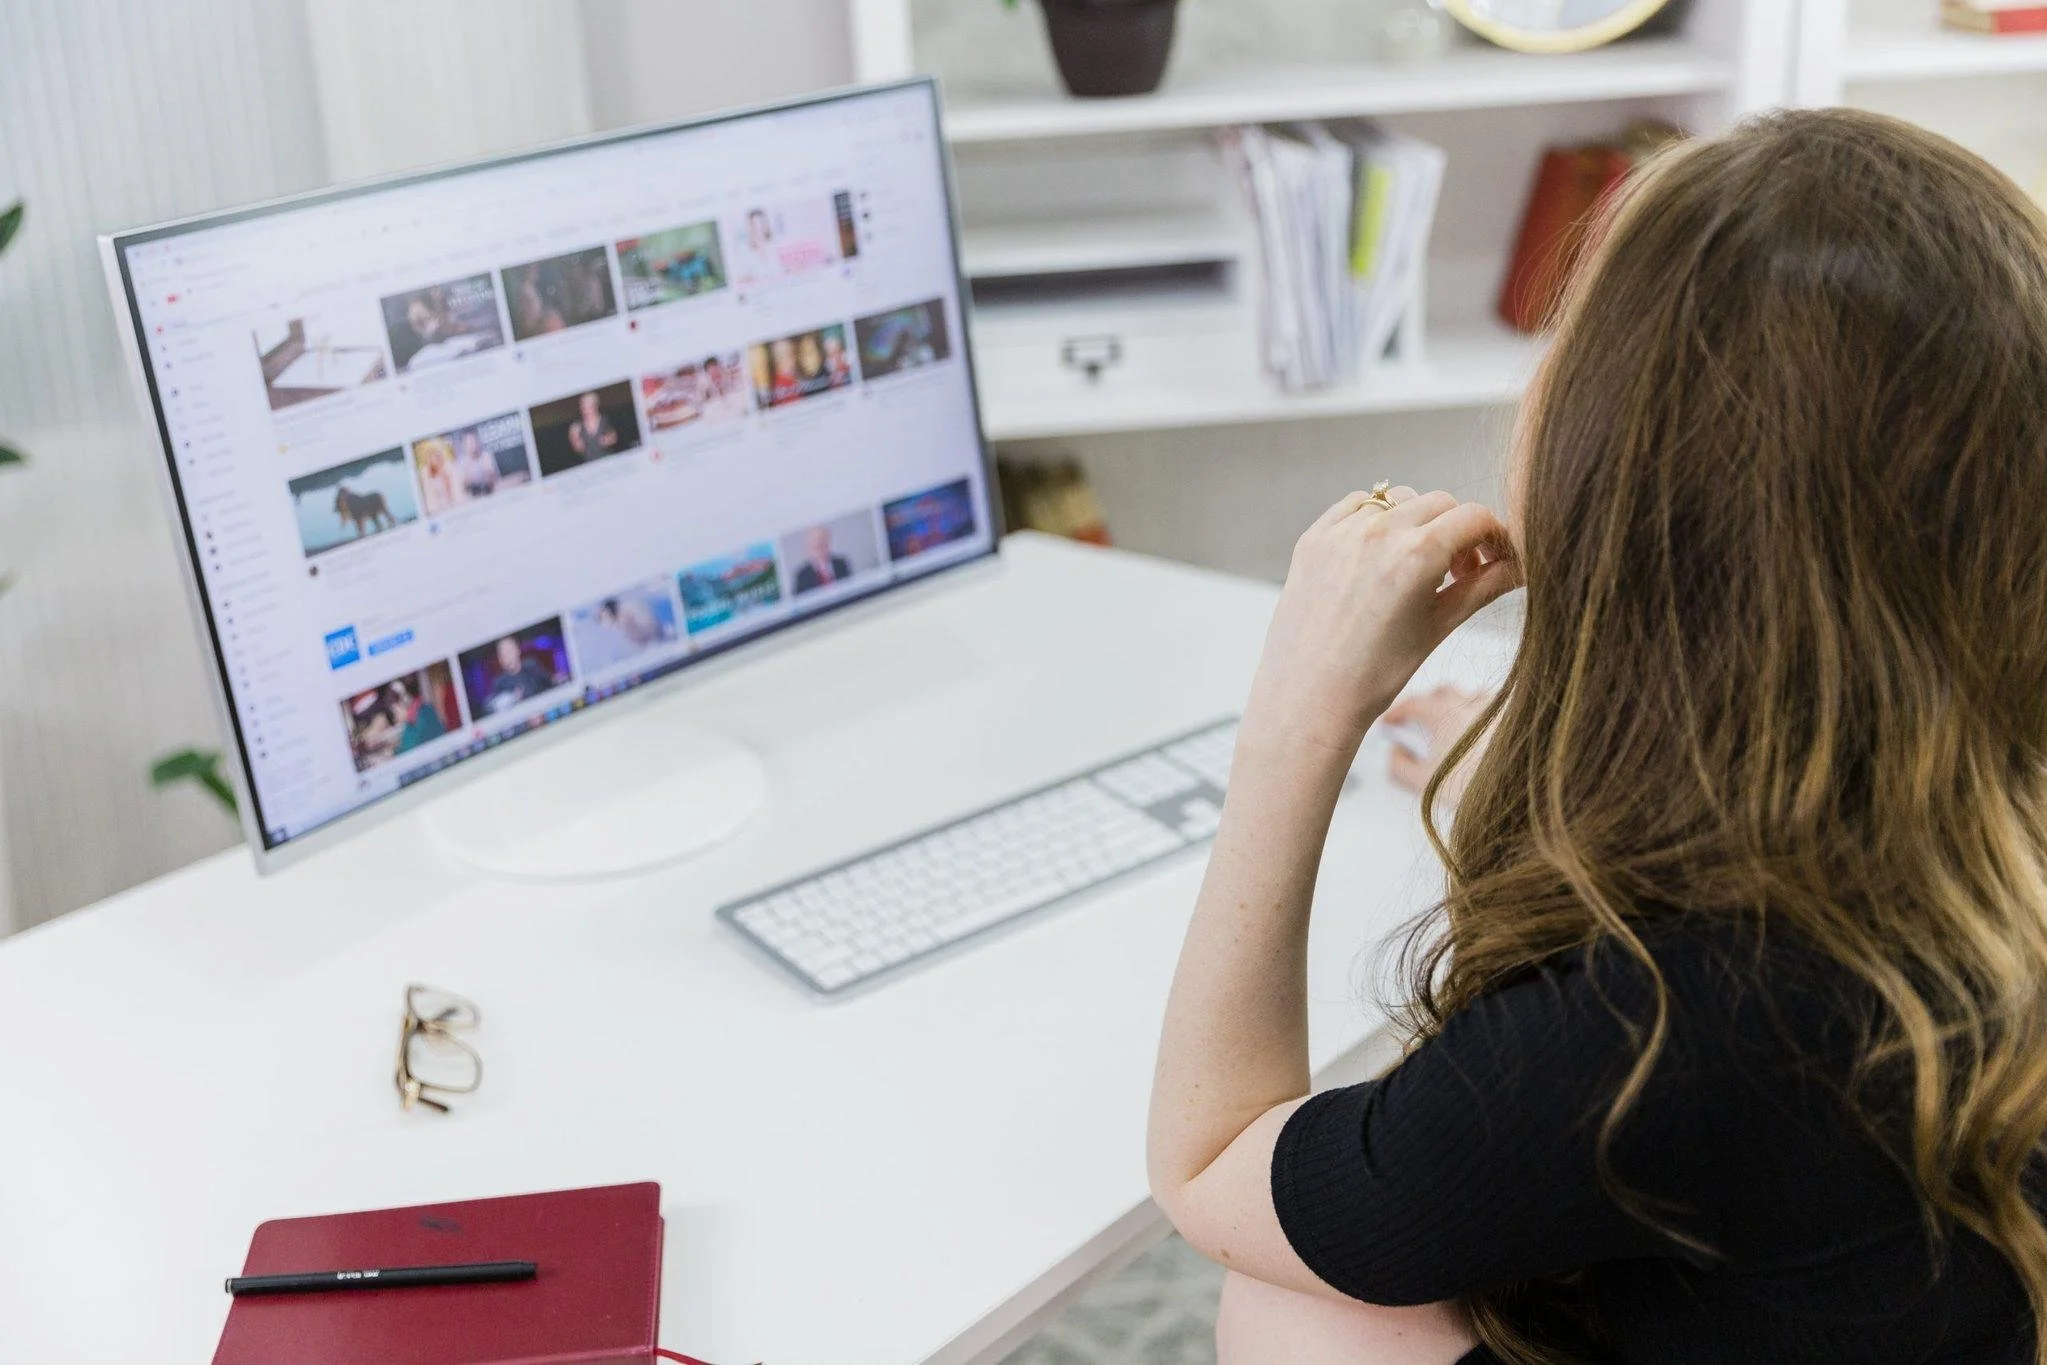
To help your videos out a little bit, make sure to watch the video on your Google account as well as on any other Google accounts you have (I’m guessing you have more than one OR your family members have one). Also, be sure to like and comment from each Google account. This isn’t going to explode your channel, but in the beginning, every watch, like, and comment matters.
Your first videos may not get thousands of views overnight, but if you stay consistent and continue to publish quality videos, you can build a successful channel.
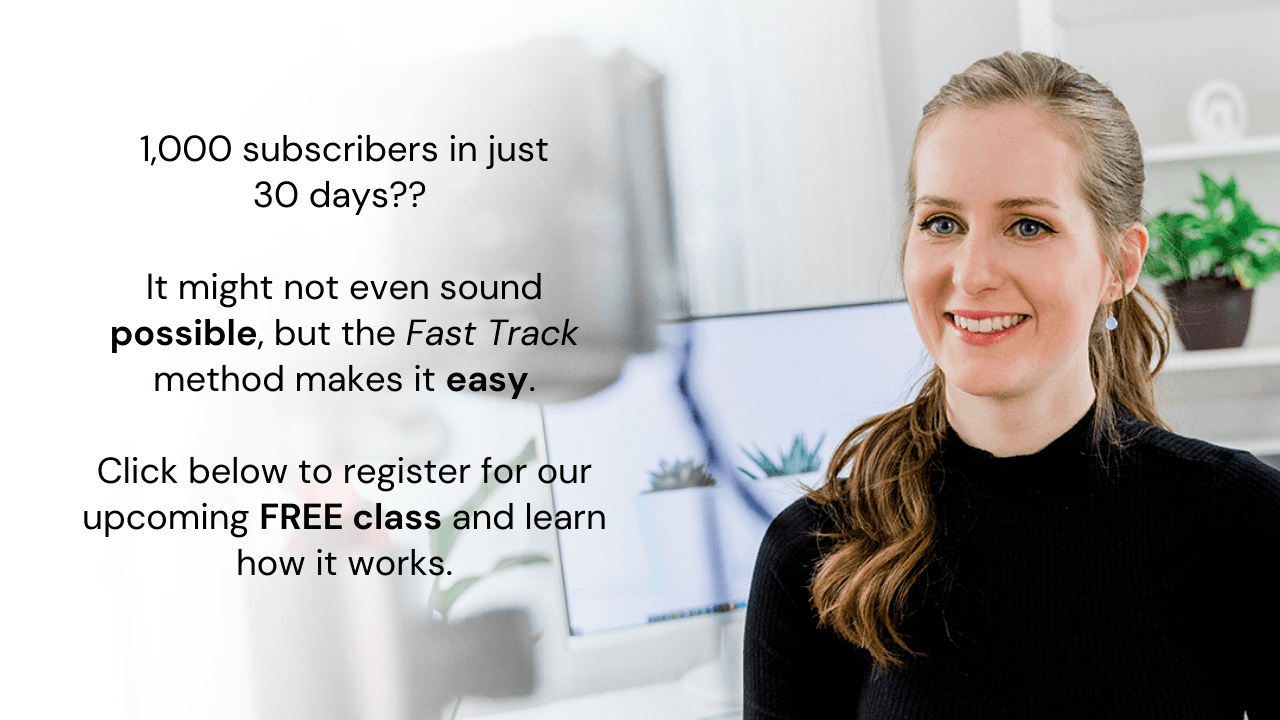
If you are looking for a growth strategy for YouTube, I have a free workshop you may be interested in that will help you understand how it’s possible to reach 1,000 subscribers and get monetized in as little as three months.
3 Secrets to Reach 1,000 Subscribers and Get Monetized in Just 3 Months

Do you want to learn more about how to reach 1,000 subscribers and get monetized?
Join me in my free YouTube training where I walk you through the most important factor for racking up watch hours as quickly as possible and how to maximize every view that finds your channel.